Homegrown: Drying Herbs
“You must fail at gardening to master it.” Unknown
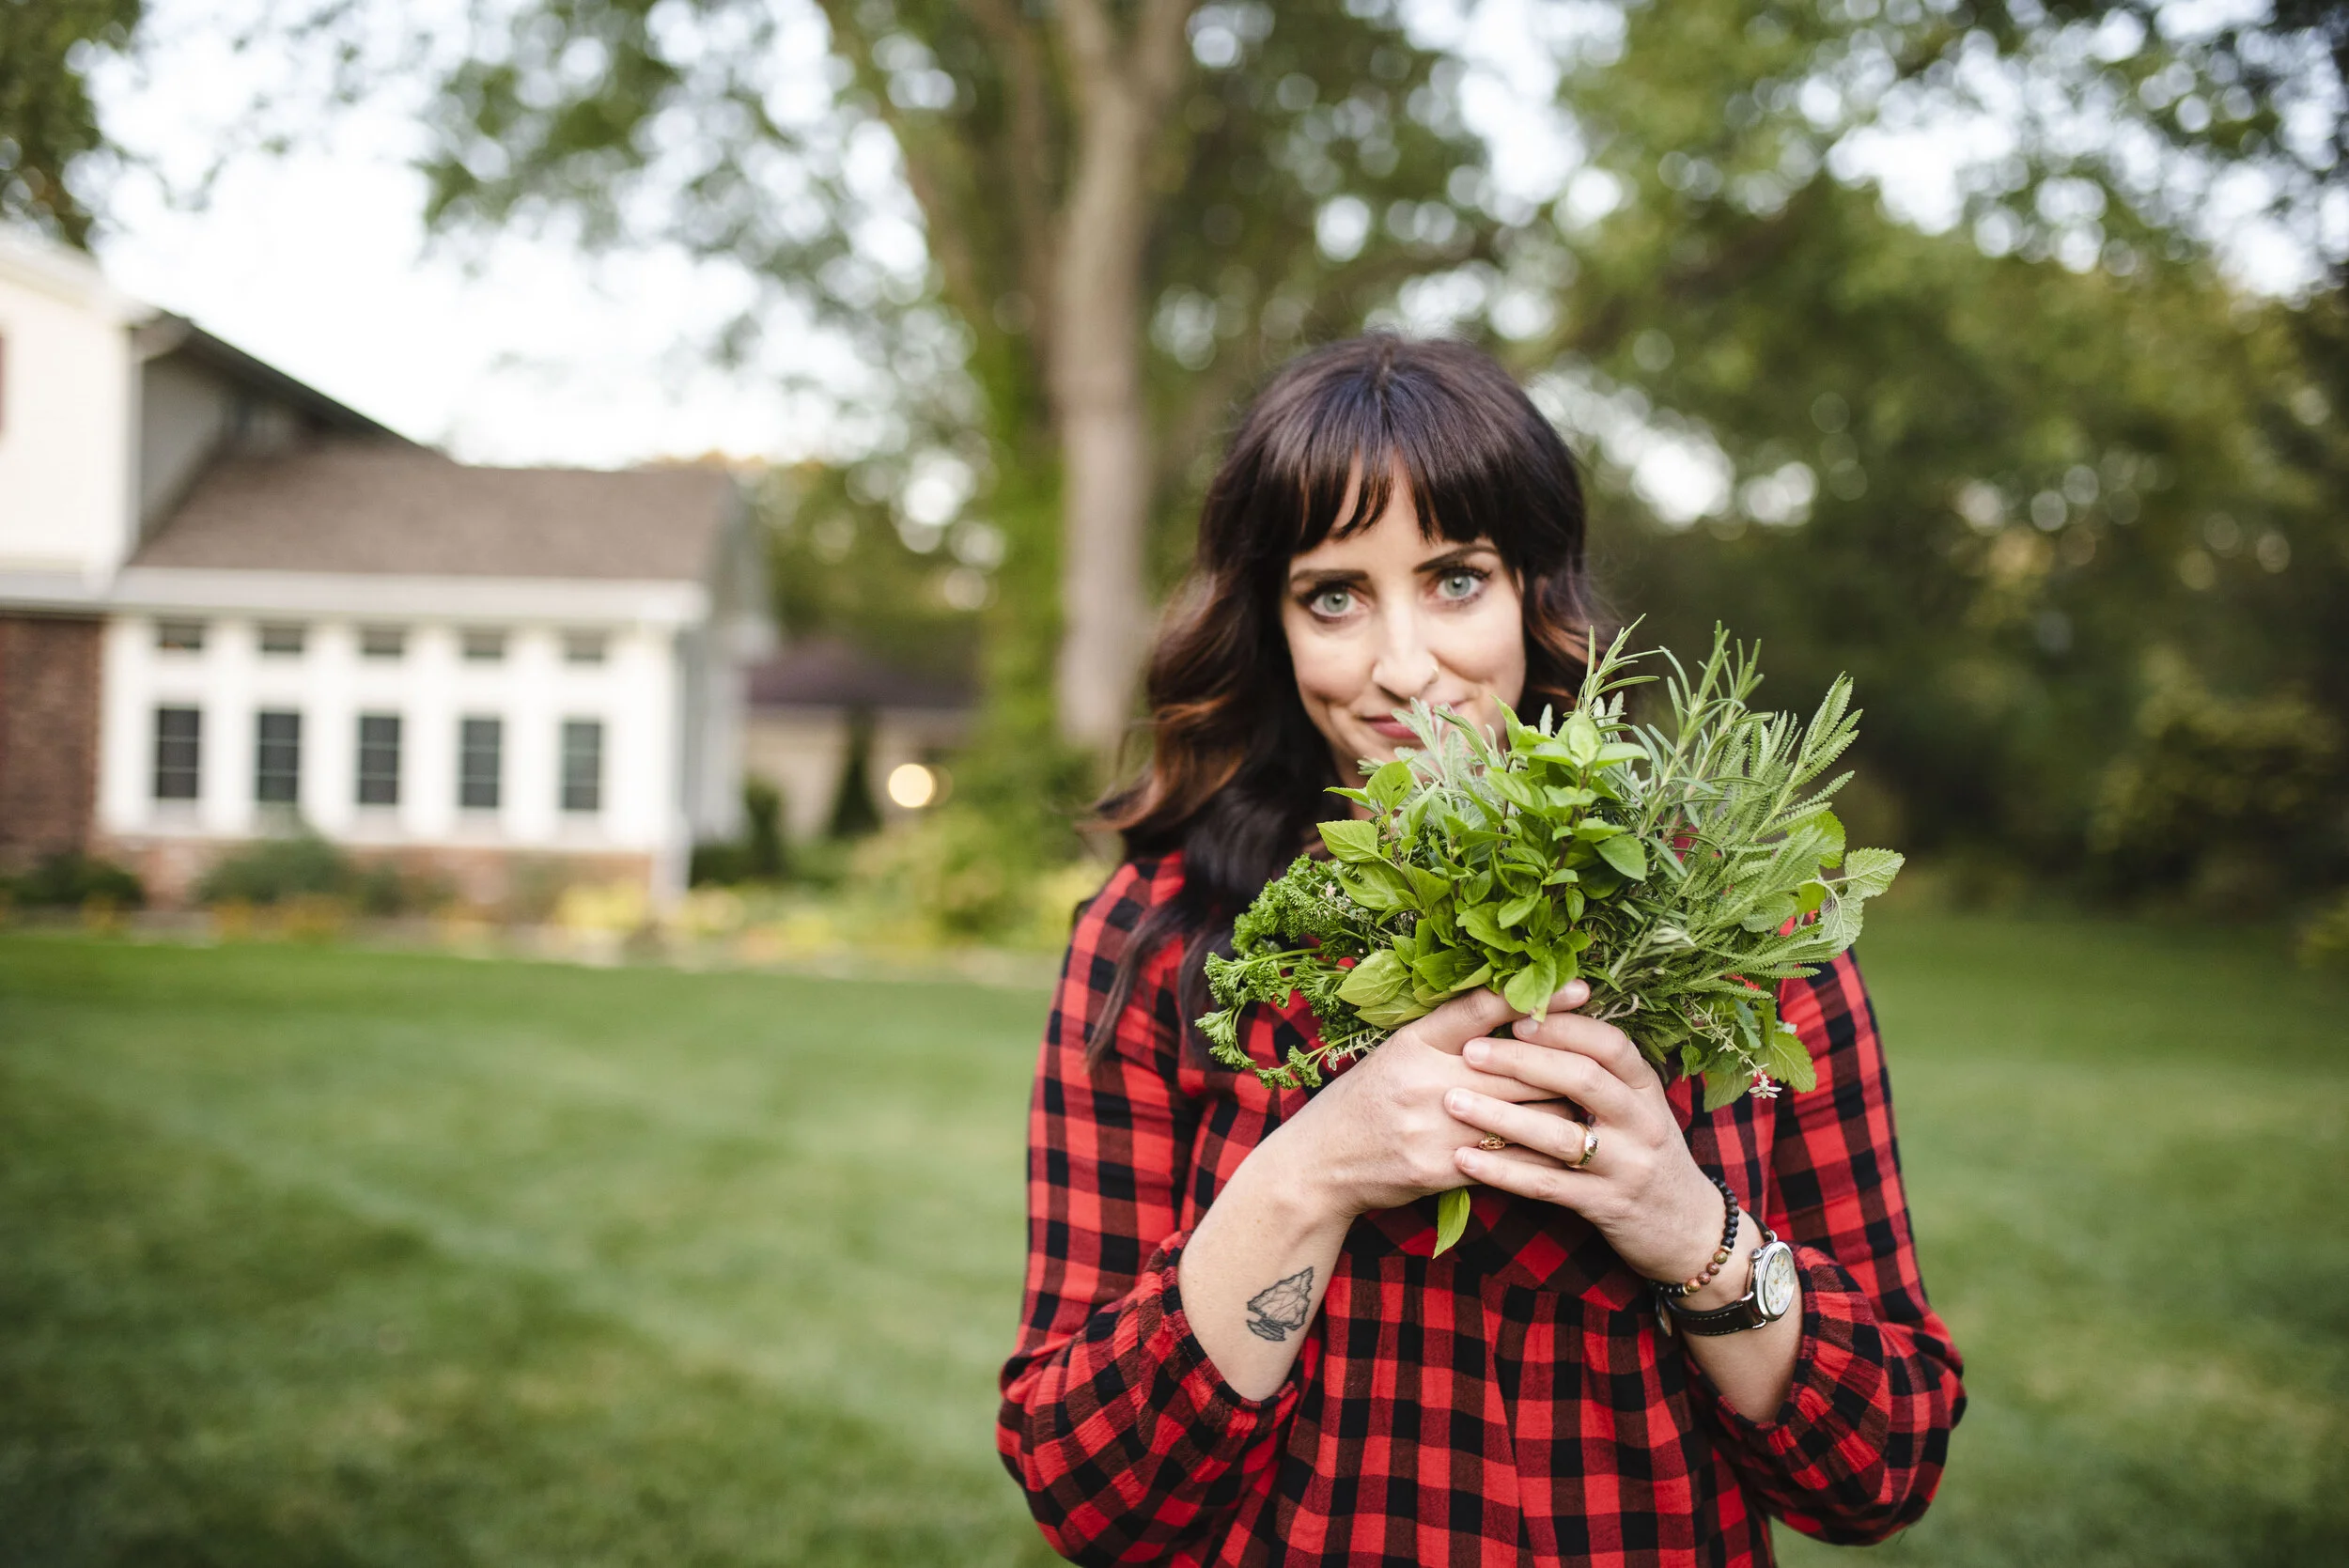
The leaves are falling and the days are getting shorter, which means it’s time to bid farewell to our summer herb gardens. That being said, we aren’t done using that hard-earned flavor quite yet. If you have space and bright light in your kitchen, you can certainly bring your herbs inside in pots, for fresh herbs all year round. Unfortunately my kitchen doesn’t have enough window space, so drying herbs is the way to go! It’s an enjoyable way to welcome the new season without having to waste the plants you tended to all summer. If you’ve kept your herbs alive this long, the hard part is over. Drying herbs is SO easy and nearly impossible to mess up. It’s also a great way to get your kids involved in the garden and kitchen. Let’s start with the basics.
Why should I dry my own herbs?
-It saves money by not buying store bought herbs.
-You get the most out of your plants.
-They are fresher and tastier than herbs from the store.
-They serve as natural home decor while drying.
-They have a long shelf life (they will have maximum flavor for up to one year).
-It’s fun!

How long does it take?
Your herbs will take 1-2 weeks to dry, depending on the size of your bundles and humidity of your home. They’re ready when they’re crunchy and crumble between your fingers.
When cooking, do I measure dried herbs the same as fresh herbs?
Dried herbs are more potent than fresh herbs. When cooking, 1 teaspoon of dried herbs is equivalent to 1 tablespoon of fresh herbs. Add your herbs early on in cooking so the flavor develops. Don’t just sprinkle on at the end.
How do I do it, anyways?
There are a few different ways to dry fresh herbs, but today we will be air-drying/hang-drying. This is the tried and true method that has been used for thousands of years.
Follow these simple steps:
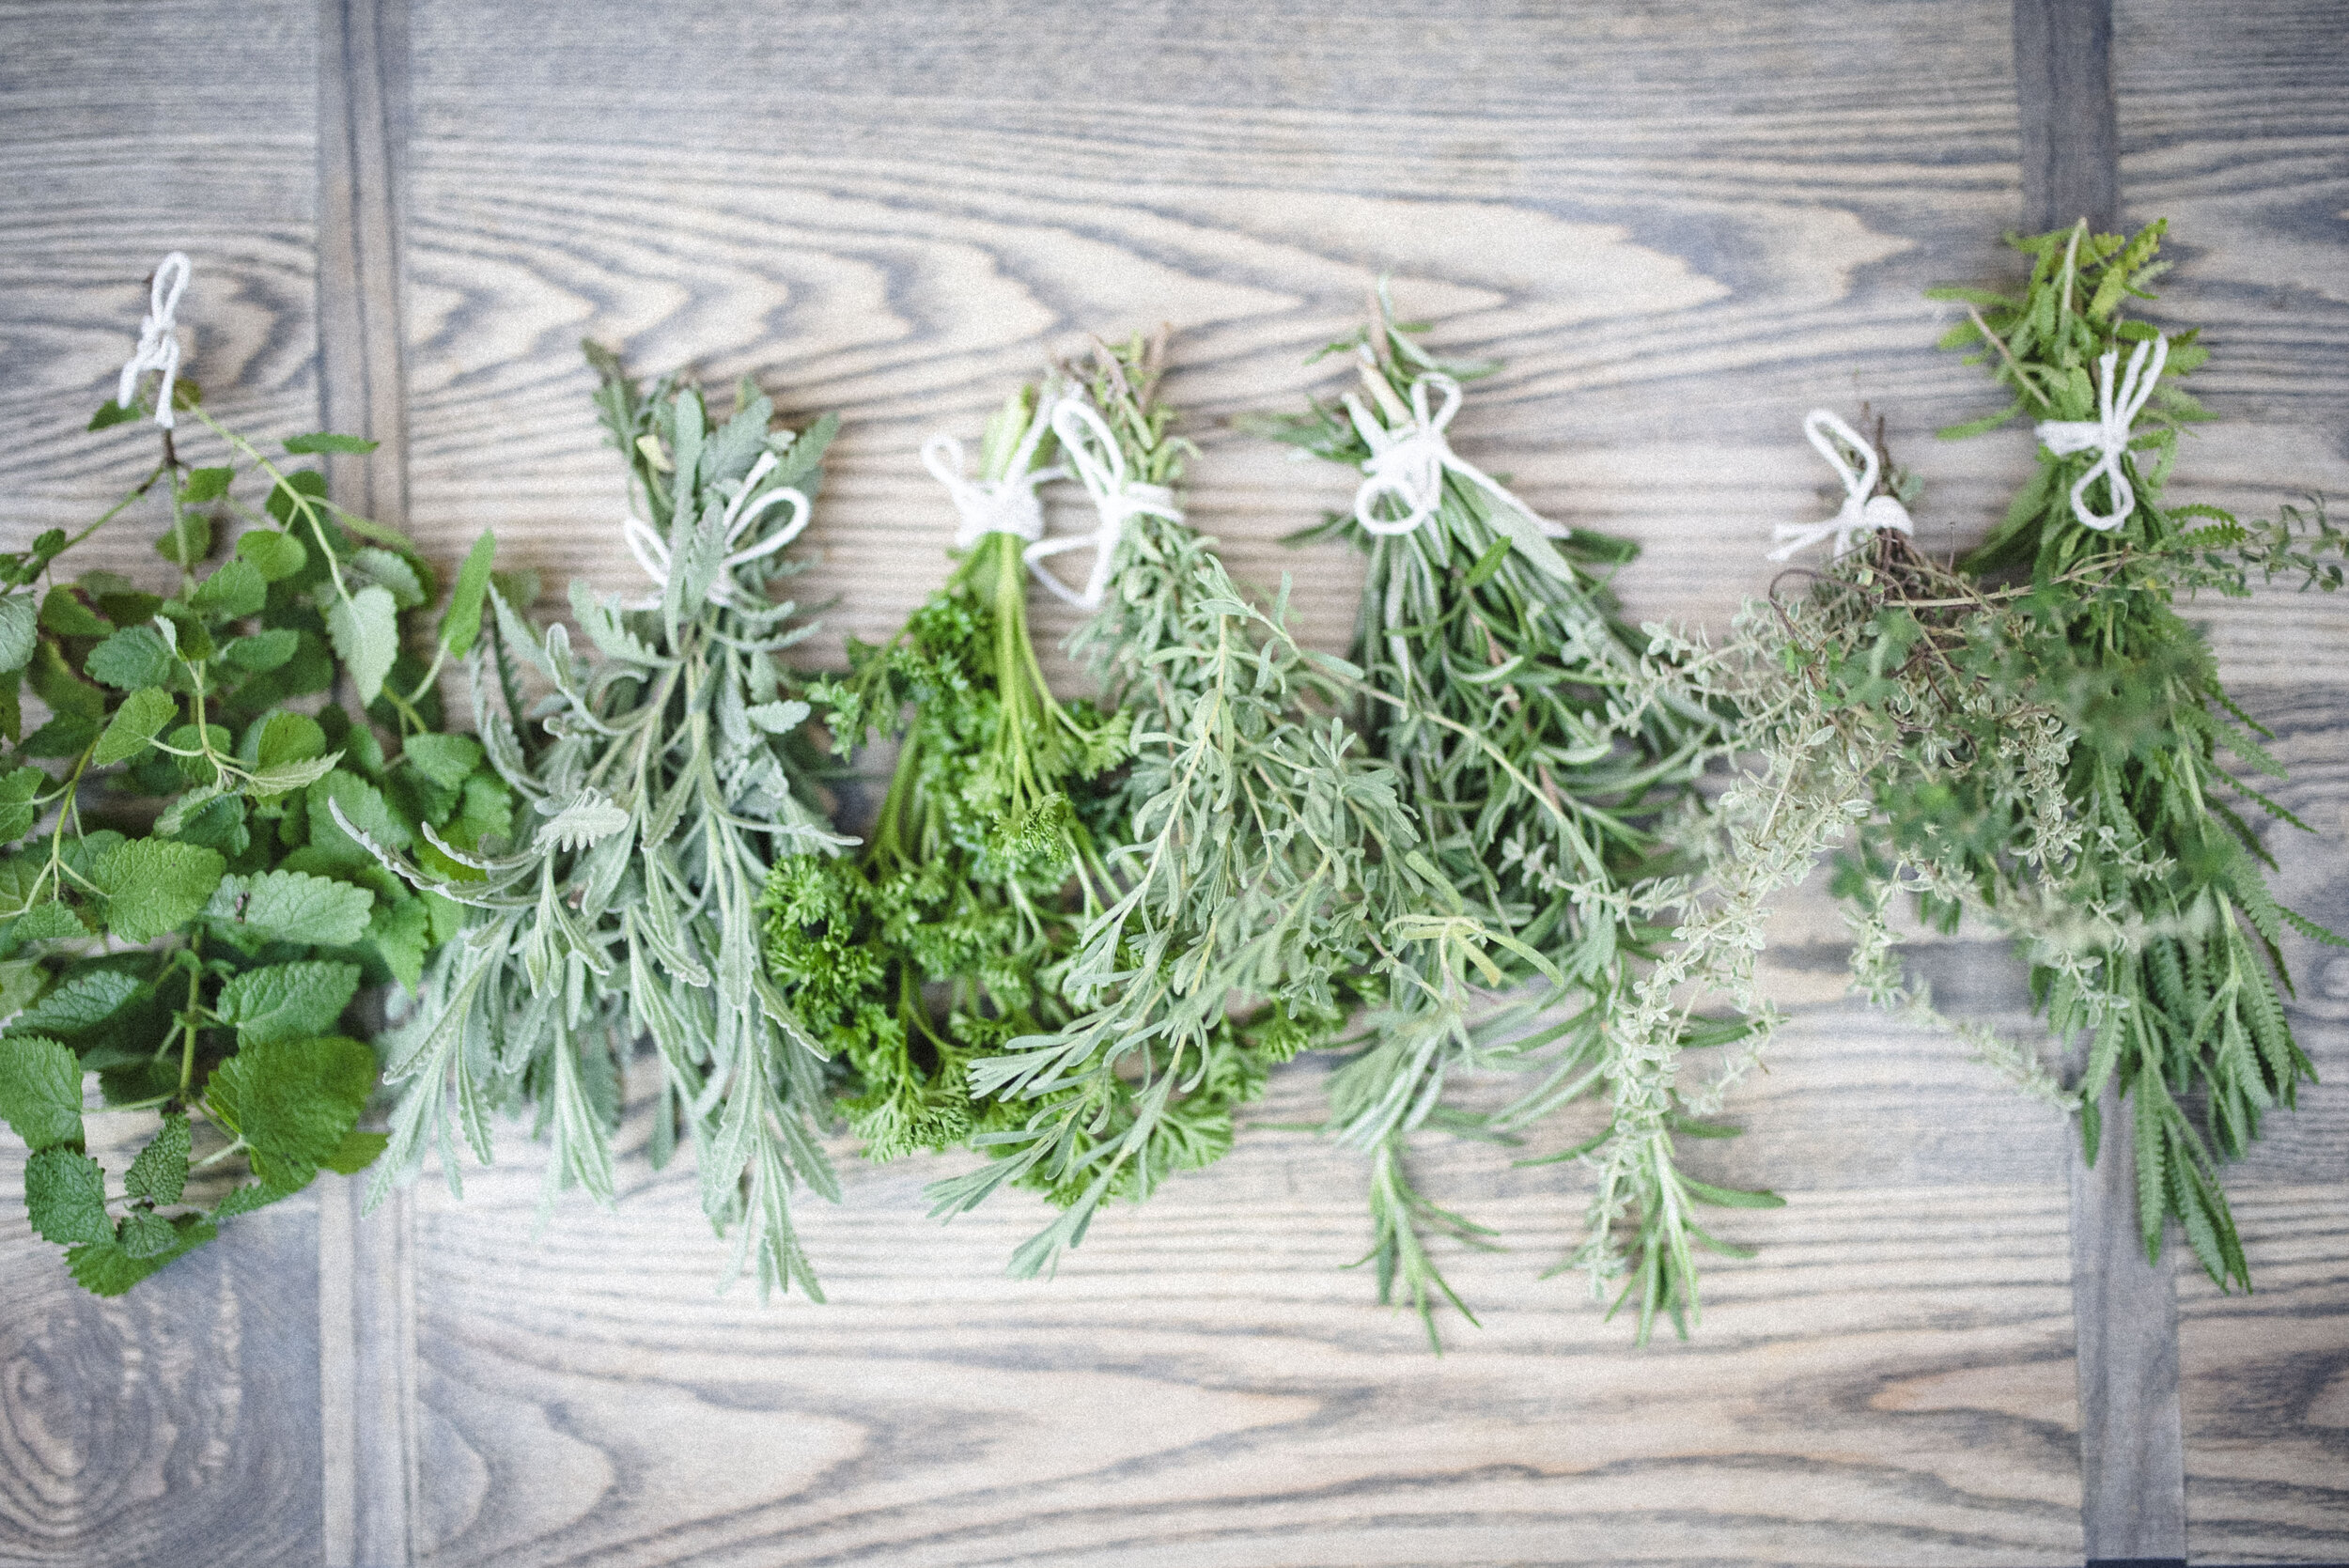
Cut your herbs in the morning and tie together in bundles using twine/string or a rubber band. I usually make bundles of about 5 stems, or 1 inch wide. Too large of a bundle will take longer to dry and retain moisture, which can lead to mold.
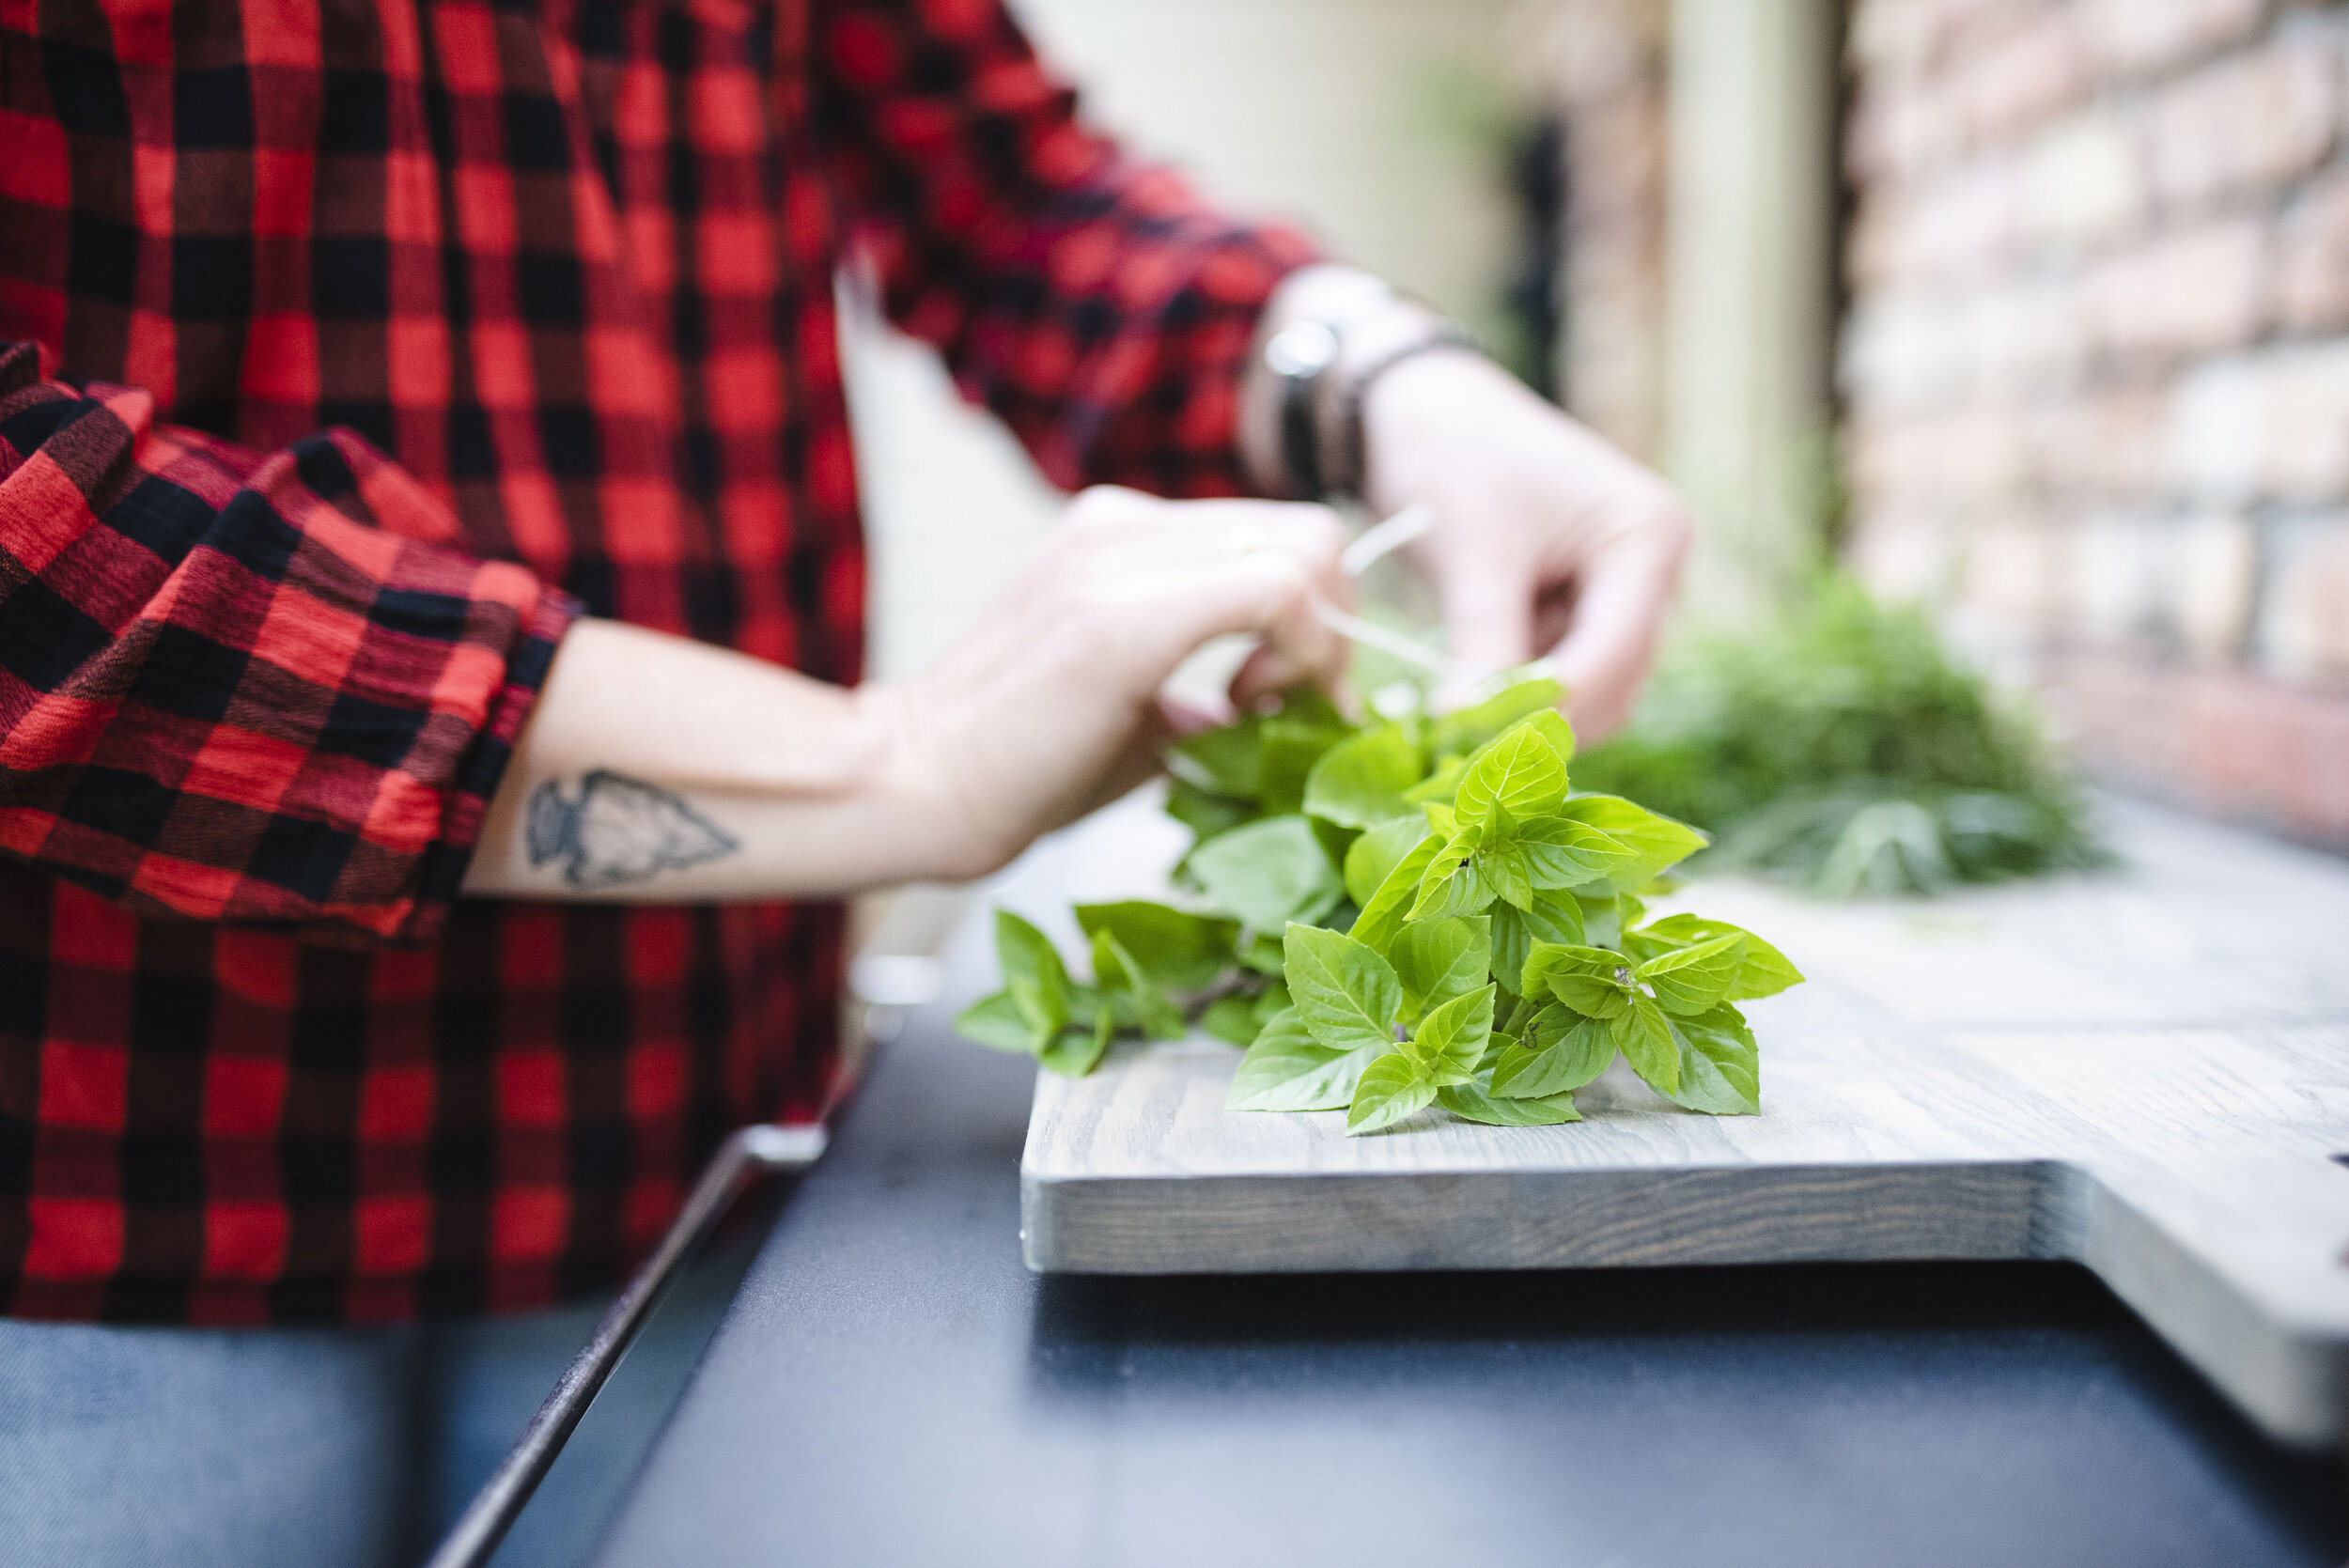
Remove any bugs, dead leaves, etc from your herbs.
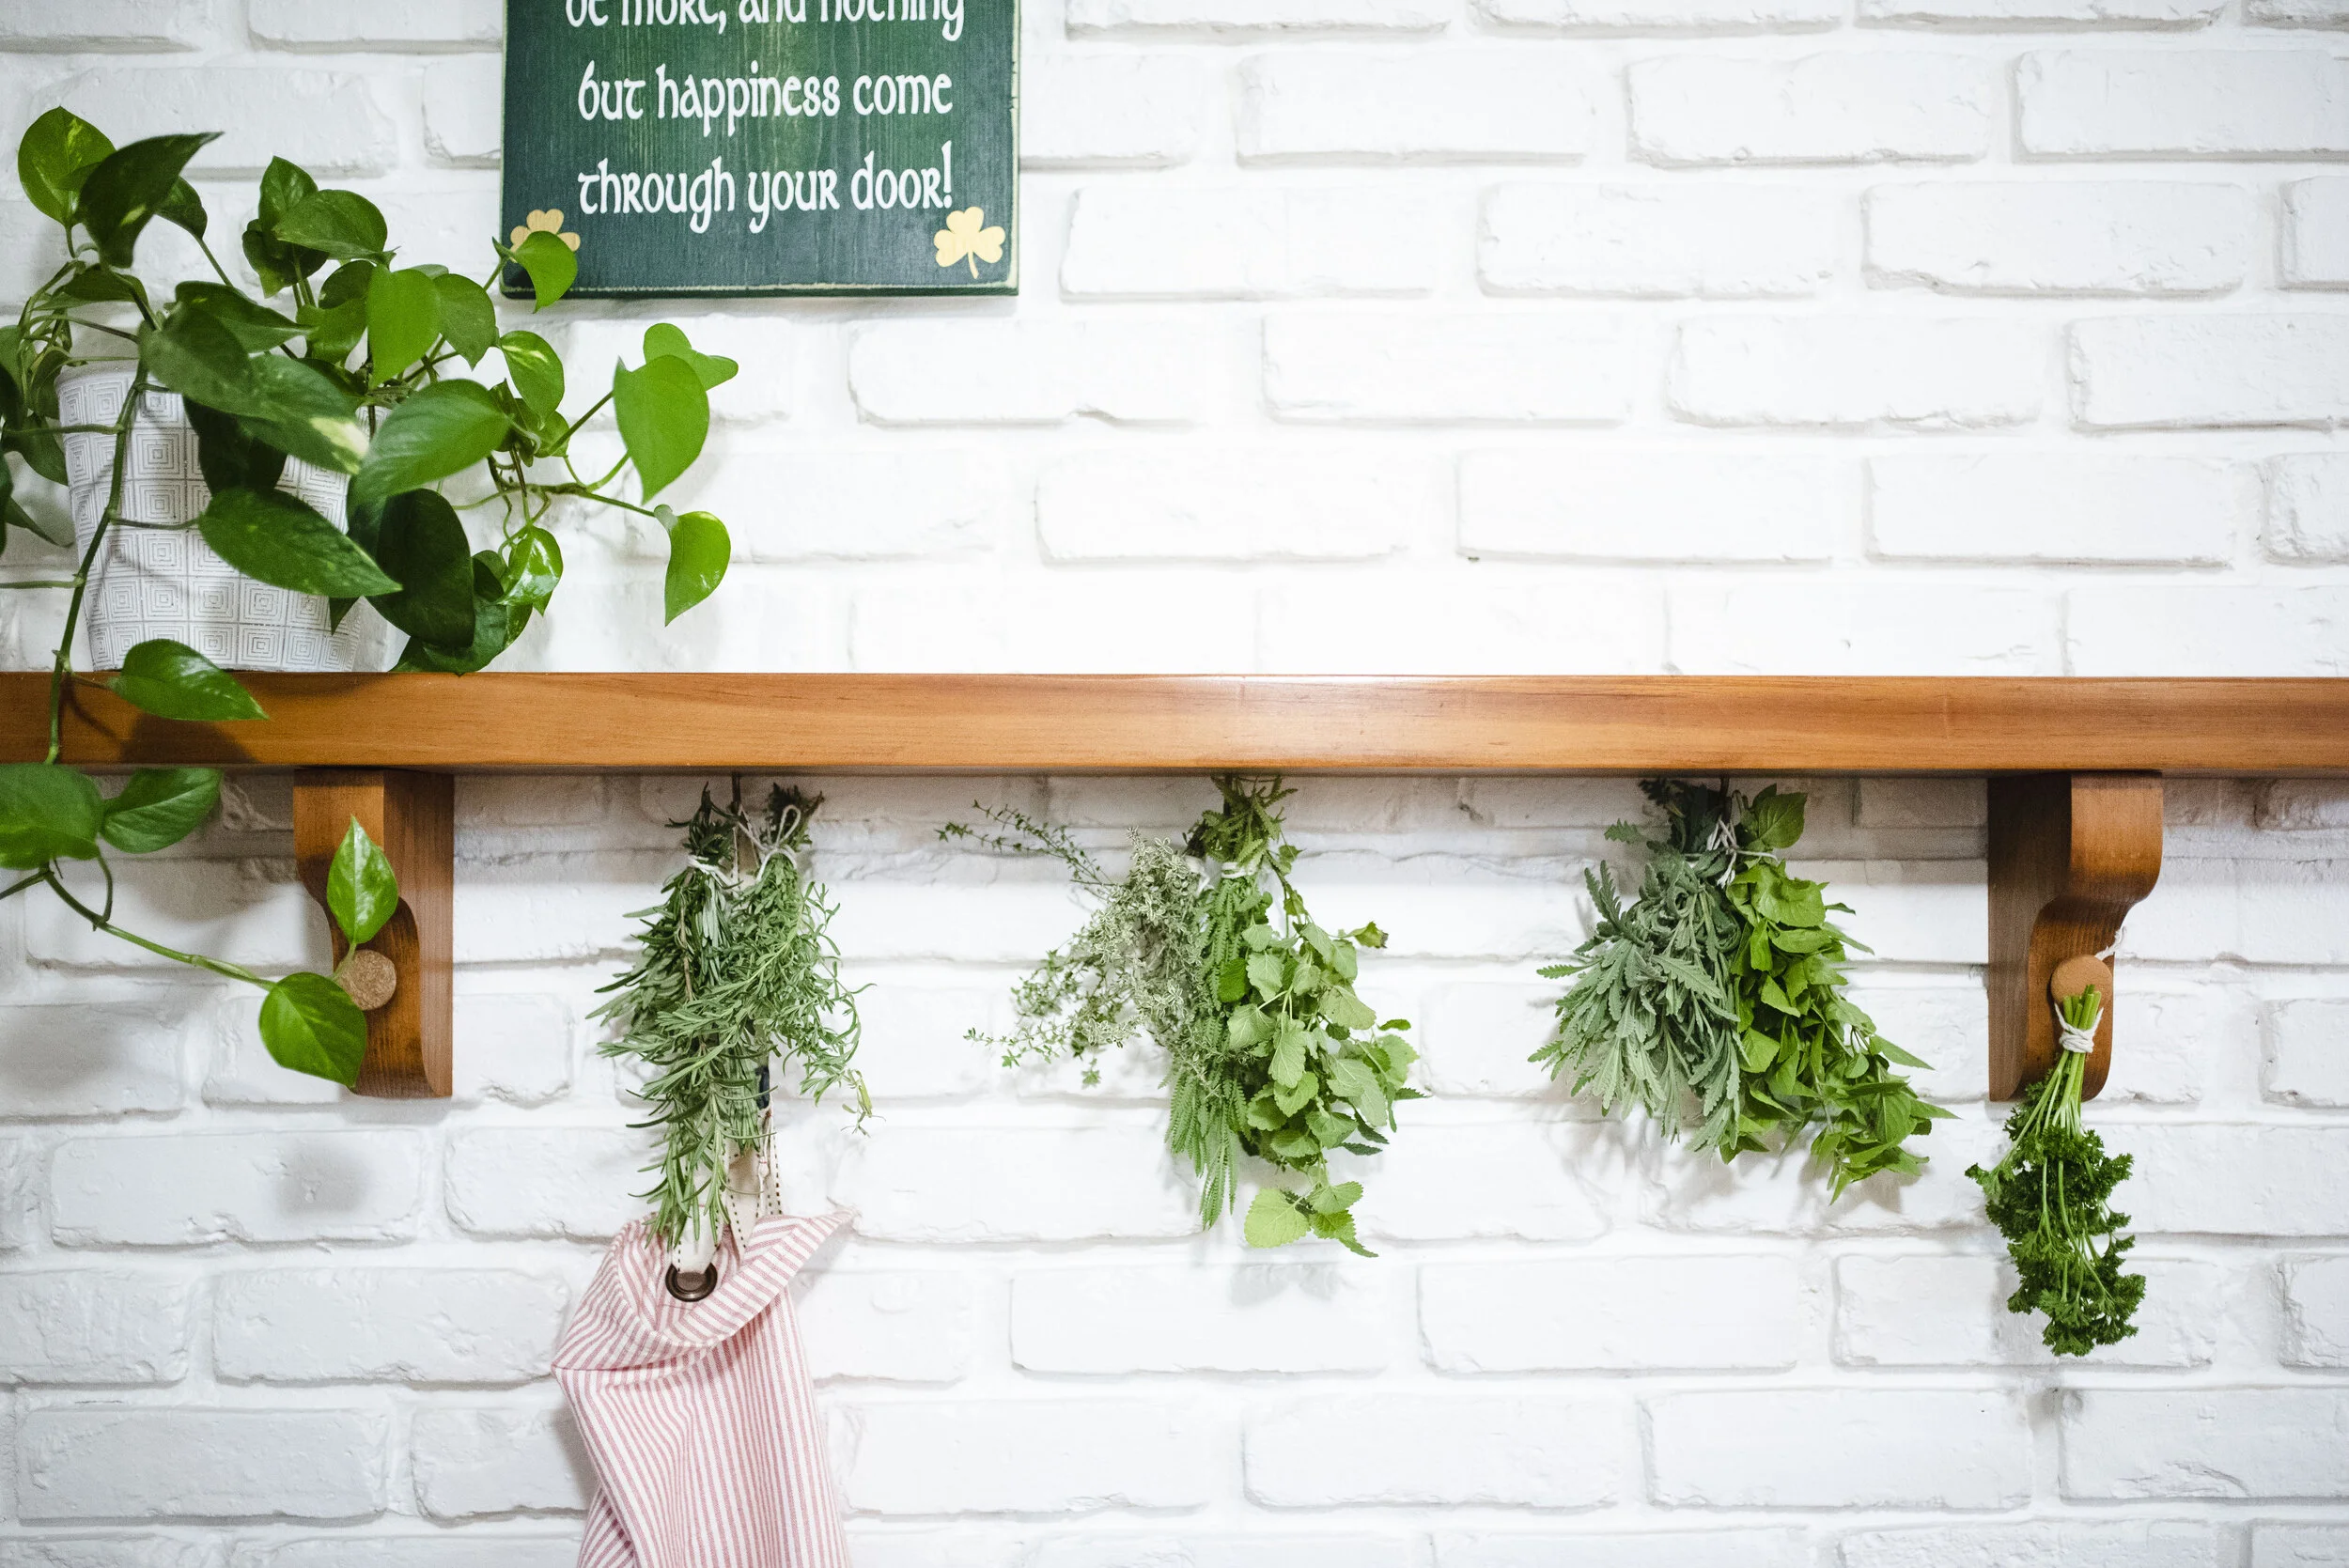
Hang your herb bundles upside down by the stems and allow to dry. Hang them in a dry, warm area, out of direct sunlight. You can also hang in a brown paper bag to protect against dust and sunlight.
Once fully dried, crumble dried leaves and store in airtight containers at room temp. You can also keep leaves whole for garnishes. Sage and basil work well for this.
That’s it! Enjoy!
Tip: If you’re new to this, label your herbs before drying. Dried leaves can start to look alike!
Later in the season we will feature recipes using your dried herbs. Until then, check in next week for delicious squash recipes, using unique squash only available at Benoit Greenhouses!
-Meg